Showing posts with label Sewing corduroy. Show all posts

Saturday, January 24, 2015

Corduroy jeans - completed!


I finished the "Casual & Smart" pants pattern from Ottobre Design Magazine 6/2014 issue.  They are made from a light/mid weight fine-wale red cotton stretch corduroy  (that's a lot of adjectives).

They are very slim-fitting - if I sew another pair for my son I will size up so he can wear them longer.


One change I made to the pattern was to make the waistband adjustable.  I figured out how to do this by looking at a pair of my son's RTW jeans.
  • I made the buttonholes and sewed on the buttons (recycled from jeans that no longer fit him) on the inside of the waistband prior to attaching it to the jeans.  
  • Once the waistband was completed, I threaded buttonhole elastic through the button hole openings and then stitched the ends securely using a zig-zag stitch.  
  • This stitch is hidden under the first belt-loop.


Here's a back view.  I love the unique pockets.


Here are a few "action" shots on my son.  We both love the fancy curved seam down the leg.


And finally, I think these pictures show how the elastic in the waistband really helps these fit him better.  The first photo is without cinching up the elastic - there's a significant gap in the back.  The second photo shows the elastic pulled in.


For construction techniques I referred mostly to the online Craftsy class,  Sewing Designer Jeans - Angela Wolf, Instructor.  This is probably the best class I have purchased on Craftsy.  You will sew jeans like a pro.


Sewing Designer Jeans


The best part of this endeavor was putting them on my son and remarking that they looked like something you might buy in the store.  My son said "No they don't!  They look like your beautiful work, Mama."

Make something beautiful!
Jen


Tuesday, December 9, 2014

Christmas Corduroys Continued - Back Pockets and Top-Stitching Tips


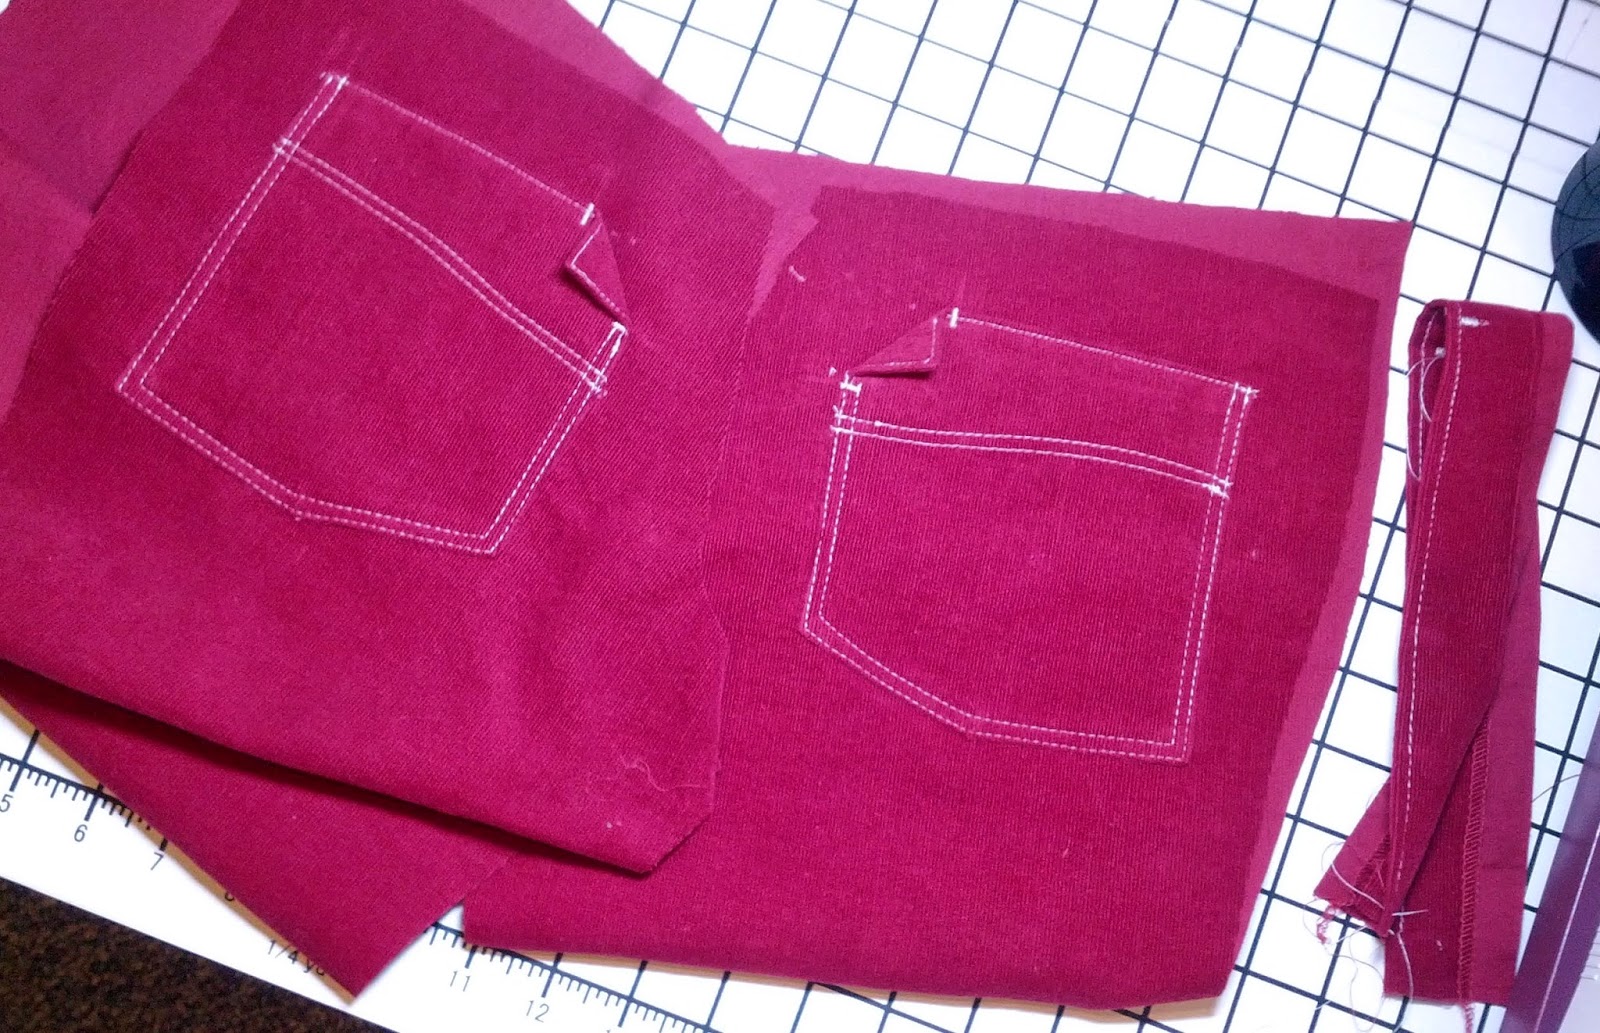
Typical instructions for pant/jean construction have you start with pockets.  These tend for me to be some of the trickiest - especially when doing clever and interesting pockets with lots of top stitching.  They really show off your sewing skills (or lack thereof).

These back pockets took a bit of patience.  The top of the pattern piece is a curved line which becomes (when sewn and folded down) the guide mark to stitch the wavy/curved top stitching that goes diagonally across the pocket.


The top of the pocket is edge stitched (stitched very close to the edge) prior to attaching it to the pants back.  This can be tricking as some machines like to grab and pull the fabric down in the feed dogs.

To help make this go more smoothly, I use a "hump-jumper" which is simply a piece of fabric of like-thickness that I place under my machine foot and behind the starting point of where I want to stitch.  This keeps the foot level and keeps the fabric from getting pulled down into the bobbin and jammed.  You can see the strip of fabric I used in the picture below.


My next top-stitching best friend is my bi-level top stitch foot.  It has a groove underneath the foot that fits the edge of the fabric and guides it for a nice straight line.  I move my needle position to place the stitching exactly where I want it.  This is great for double stitching.  I set my first row of stitching needle position at 2mm and my second at 6mm.  A picture of the bi-level top stitch foot is below.


The folded corners will have a jean stud inserted - I'll put that process in the post when I do the fly and the jean button.

Also, I have a bar-tack stitch on my machine which I used to make the bar-tacks on either side of the folded corner.  You could easily do this adjusting the zig stitch on your machine.

Next up - front pockets.

Make something beautiful!
Jen